

Invoices are essential for any business—they specify the services and products provided, total costs, payment due date, and payment options and terms. In order to ensure a correct and timely payment, sending an invoice is crucial. While you can create an invoice from scratch for each product or service, it's generally more time saving to create a template to be reused every time you need to issue an invoice.
Sage is a popular tool for drafting and customizing invoice templates. Here at Indy, we aim to make freelancing simple and help you with the day-to-day tasks of running your business. So, in this article, we will go through the benefits of using Sage for your invoice template and provide a step-by-step guide on how to edit and customize to fit your specific needs and profession.
Understanding Sage Invoice Templates
You may be familiar with Sage, the software company that has been used by businesses for decades. Since its incorporation in 1981, Sage has expanded its software to suit businesses from all industries, offering new tools to help with accounting and finance. Sage Accounting, previously known as Sage One, provides everything you need to keep your small business running smoothly.
This includes invoice templates that can be easily customized to suit your business needs. Sage Accounting offers numerous invoice templates, including product based and service based.
The different components of a Sage invoice template include:
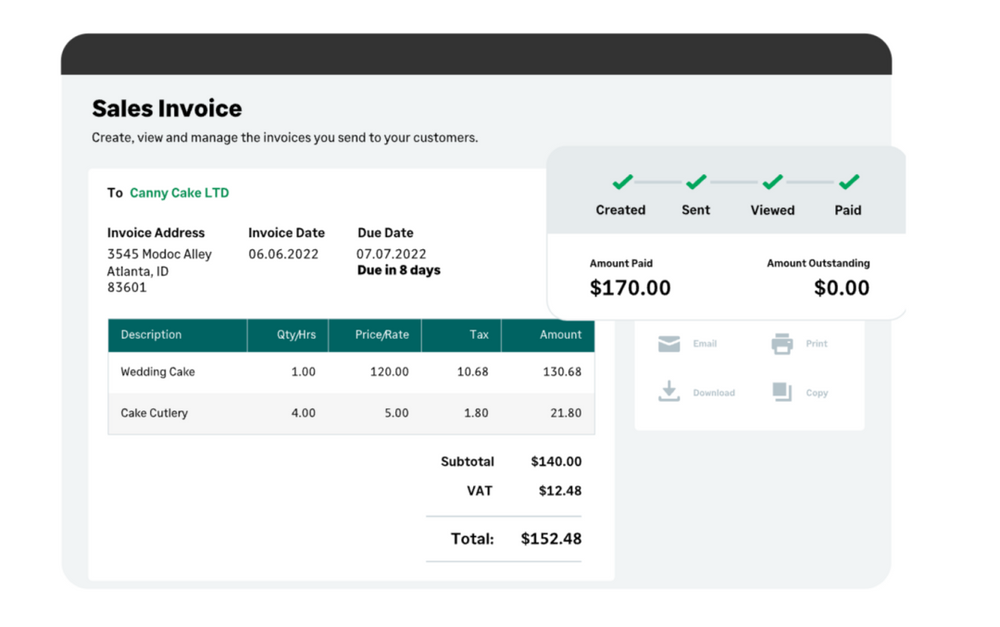
- Header - your business name, contact details, address, and logo.
- Invoice details - separated into two columns: first with the client's or customer's details, second with the invoice details including invoice number, date, tax details, and reference.
- Description of products and services - with quantity, costs, and total amount.
- Delivery address for the invoice.
Straight from the invoice template itself, you can customize invoice layouts, add your logo, and even select a theme color to reflect your brand—giving your invoices a personal and professional touch!
How to Edit Sage Invoice Templates
Now that we have covered the basics of using Sage invoice templates, let's take a look at the different ways you can edit, and how to do so!
To begin, make sure you have the necessary software and tools. As noted above, the best version for invoicing is Sage Accounting. It offers a three-month free trial, with three available subscription plans:
Start ($12 per month) - Ideal for freelancers and sole traders, with access for a single user:
- Create and send invoices
- Keep track of what you're owed
- Automatic bank connection
- Calculate and submit VAT (if applicable)
Standard ($26 per month) - Ideal for sole traders and start-up businesses, with access for unlimited users. Includes everything in the start plan, plus:
- Manage and submit CIS
- Run advanced reports
- Send quotes and estimates
- Forecast cash flow
- Manage purchase invoices
- Automate receipt capture
Plus ($33 per month) - Ideal for growing your small business, with access for unlimited users. Includes everything in the standard plan, plus:
- Multi-currency banking and invoicing
- Manage inventory
Customizing the Header Section
Once you have created an account and chosen a plan, it's time to familiarize yourself with the template editing process in Sage. In Sage invoice templates, the header is your business information and logo. To begin, we'll go through adding your business information, and discuss adding your logo in the next section—which is completed after choosing a template.
On your Sage dashboard, select 'Summary' from the top menu. On this page, you can add your business details, including your name, business name, business address, and contact details.
Editing Your Invoice Details
On your Sage dashboard, select 'Sales' from the top menu, and choose 'new sales invoice'. Begin by adding your information into the first section, which will be displayed in the second section of your invoice, directly below your business details added in the previous section.
In this section:
- Add or select your client or customer details - their name and customer reference (customer reference is used to help manage your invoices, e.g., Cust001).
- Add the invoice date - this is the date the invoice was filled in.
- Add the due date - this is the date payment is due.
- Add the reference - for example, order number.
- Invoice address - your client's address.
- Delivery address - where the invoice will be sent. If it's the same as the invoice address, you will still need to add it to this section, as it will go at the bottom of your invoice.
Editing the Description of Products and Services
The next section, directly below the details you entered above, is the list of products and services provided to the client.
In this section:
- Add or select your product or service (e.g., Article).
- Add your description of product or service (e.g., 2000-word SEO article on mental health).
- Ledger account - each ledger account has a Category and Group, which define how transactions appear on your Profit and Loss and Balance Sheet reports. If you haven't created a ledger account, simply select 'save' to save your invoice as a draft, and:
- Select 'settings', then 'business setting', and select 'chart of accounts'.
- Select 'new ledger account'.
- Enter the details and save.
- Return to sales, invoices, and select your draft.
- Add the quantity of products or hours worked.
- Add the price of a product or services.
- Add any discount (if applicable).
In the section below, add any terms and conditions, or notes that you wish to include in your invoice—this information will go underneath your products and services. Notes can include any company policies and late fees.
Customizing Your Invoice Template
Once all of the information above is completed, scroll down to the bottom of the page, select 'customize' and then 'templates and logos'. Here's where you can browse Sage invoice templates and choose a default layout.
Add your business logo
Once you have chosen, make sure to select the template and scroll down to the next section. Here, you can add your business logo. Select 'upload', choose your logo, and then 'open'.
Your logo must be maximum of 1mb in size, and in either JPG, PNG, or GIF format. Sage recommends a size of 280 x 200 pixels.
Additionally, you can add association logos if applicable, such as for accreditations or trade memberships.
Choose a theme color
In this section, choose a theme color that reflects your brand and business for a more personal and professional invoice template. There are a range of different colors to choose from, and you can select 'preview' on the bottom right corner to preview the invoice design before continuing.
Choose your fonts
The next section lets you choose the font and size for your invoice template. The font selection is traditional, and, again, you can preview the invoice before saving to make sure it fits your business and brand. The font color will be reflected by the theme color, so previewing before saving is best practice!
Applying CSS for advanced design options
If you are familiar with CSS (popular website platforms including WIX and WordPress incorporate CSS), then you may decide to apply advanced styling options for your invoice. Next to theme color, there is a section called 'color Hex code', which is where you enter the CSS information for a more specific theme option.
One advantage of using Sage invoice templates is consistency. Sage only lets you select one theme color and font, and generates font color based on the theme. This means your invoice will have a consistent and professional theme and layout throughout the template.
Testing and Finalizing the Template
As noted above, make sure to preview your template before saving. This way, you can make any necessary adjustments and ensure your template reflects your business and brand in a professional manner. Additionally, you can save your template as a draft before sending to clients, to make any changes to the information included in the beginning sections.
Proofread the invoice carefully and ensure the language is consistent and concise, and addresses all of the key information required.
How Indy Can Help with Invoicing
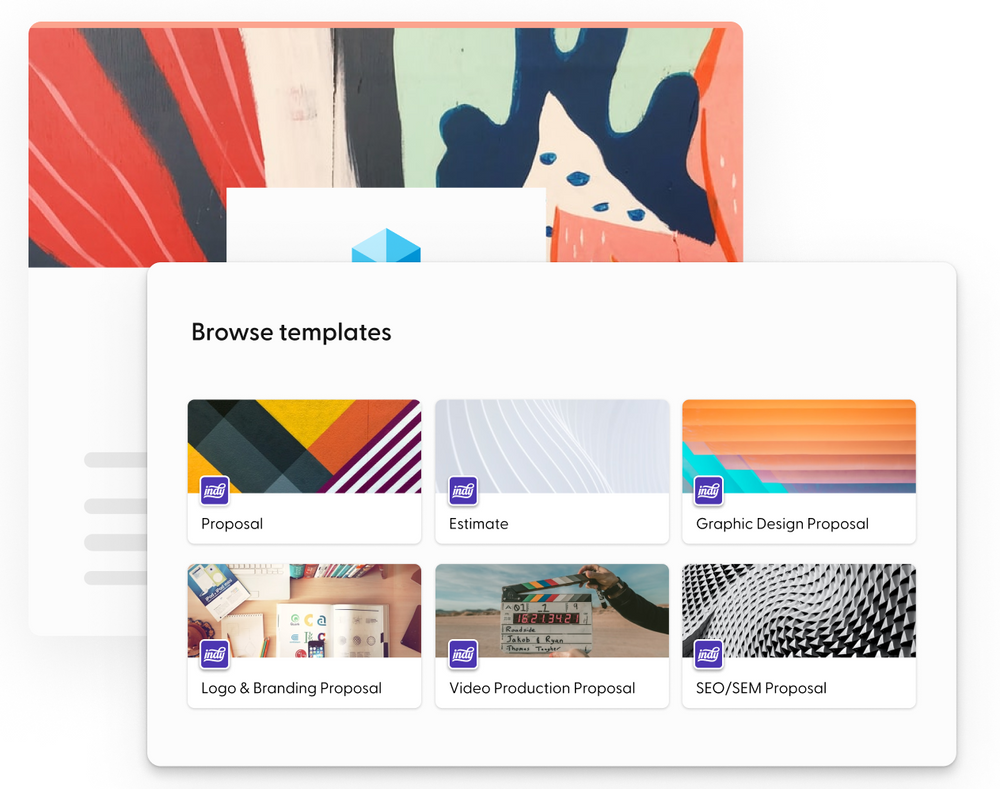
Here at Indy, we aim to make freelancing simple. Our free invoice software can create and send invoices in minutes. By creating a free account, you can view your previous invoices through your dashboard and create new invoices. All you need to do is follow the step-by-step instructions, add the information listed above, and send directly to your client through Indy. Additionally, we offer a variety of invoice templates for any project to help you save time and get paid faster!
Here are some other ways Indy can help:
- Indy easily interacts with hundreds of your favorite apps to automate your workflow, allowing you to get more done in less time via Zapier, a no-code automation tool that lets you connect multiple tools. Zapier links Indy to the applications you currently use, including Sage Accounting, allowing you to streamline and automate your workflow.
- Our Time Tracker tracks your hours for you. If you are billing customers based on hourly rate, Indy's time tracking widget shows you how many hours have been billed, or still need to be billed, and can be filtered to your projects for easy timekeeping.
- Our Calendar tool allows you to easily schedule meetings, track time, and see your deadlines. It also syncs with your Google Calendar, so you can keep up to date with everything!
With Indy, you can manage all of your business tasks, create contracts, send invoices, and safely store important files all in one place! Sign up today and try for yourself.
Conclusion
A thorough invoice promotes your small business and fosters client trust. The most crucial aspect of your invoice design is that it provides your client with all of the information they need to establish a payment arrangement immediately. Sage Accounting does most of the work for you—allowing you to customize invoices with a user-friendly automation tool, and send and store directly from the app. With three plans available, Sage allows you to create invoice templates with a personal and professional touch.
Although Sage provides step-by-step instructions for filling out an invoice template, it may not be for you or your business. For more tips on writing invoices as a freelancer, check out our guide How to Fill Out an Invoice for Freelancers.
